Quickstart
This page walks you through one small pipeline twice: once from the command line, then again in the editor. Each pass takes about five minutes.
The task
Welcome to Pondsworth, a small duck town. You have a point layer of its places (the Mallard Museum, the Puddle Lane Café, Quackington Library…) and a polygon layer of its districts, both GeoJSON in WGS84. You want a GeoPackage layer where every place carries the name of the district it's in, plus its latitude/longitude and a unique ID.
Both datasets come with duck soup. Copy them into a project folder first:
mkdir -p ~/duck-soup   # the editor's default project folder
cd ~/duck-soup
duck-soup tutorial  # writes data/tutorial/ (and a config with every tutorial example)
Using Docker? See Get the data for the equivalent command.
From the command line
In that folder, save this as quickstart.yaml:
name: quickstart
output: output/quickstart.gpkg
pipelines:
- name: pondsworth_places
  working_crs: EPSG:32631        # (1)!
  sources:
  - id: places
    format: geojson
    uri: data/tutorial/places.geojson
    crs: EPSG:4326
  - id: districts
    format: geojson
    uri: data/tutorial/districts.geojson
    crs: EPSG:4326
  base: places                   # (2)!
  steps:
  - type: spatial_join           # (3)!
    source: districts
    predicate: intersects
    fields:
      district: district_name
  mapping:                       # (4)!
  - {to: name,      from: name}
  - {to: category,  from: category}
  - {to: district,  from: district}
  - {to: latitude,  func: lat}
  - {to: longitude, func: lon}
  - {to: id,        func: uuid}
  layers:                        # (5)!
  - {layer: places, crs: EPSG:32631}
- All joins run in this projected CRS (metres). Each source is reprojected into it on read.
- Every output row starts life as one feature of the base source.
- For each place, find the district it intersects and copy that district's
district_namecolumn in asdistrict. - The mapping decides exactly which columns come out, in what order.
- Write one layer,
places, intooutput/quickstart.gpkg.
Then validate and run it:
duck-soup check quickstart.yaml   # validate only
duck-soup run   quickstart.yaml   # run → output/quickstart.gpkg
check prints a one-line summary if the file is valid, or a precise error pointing at the
offending field. run logs each stage as it goes:
  source 'places' (geojson) -> "src_places"
  source 'districts' (geojson) -> "src_districts"
  step 1: spatial_join intersects districts (on_multiple=first)
  writing output/quickstart.gpkg layer 'places' (EPSG:32631)

Wrote output/quickstart.gpkg
Open the GeoPackage in QGIS (or any GIS). Ten of the eleven places are inside a district. The
Old Lighthouse stands alone outside town, so its district is empty: a spatial join keeps base
features that match nothing.
In the editor
- Start the editor from the same folder (
duck-soup serve, or the Docker command) and open http://localhost:8000. - Click new in the top bar. You get an empty config with one pipeline.
-
In the pipeline's sources tab, click the GeoJSON template button twice to add two source cards. Fill them in:
id=places, uri =data/tutorial/places.geojson. Click the folder icon to browse instead of typing.id=districts, uri =data/tutorial/districts.geojson.
The editor reads each file as soon as the path is set, then fills in the layer and CRS and lists the columns. 4. Click ★ base on the
placescard, and set working CRS toEPSG:32631. 5. Open the steps tab, click add step and choose Spatial Join. Set the source todistrictsand pulldistrict_namein asdistrict. 6. Open the mapping tab and click the ✨ (auto-map) button to map every available column. Then delete the ones you don't want, and addfuncrows forlat,lonanduuid. 7. Open output layers and check the layer name and CRS. Set the output file path at the top of the page.
The map and the Data Table tab update as you go. Then:
- Ctrl+S (save) stores the config as
pipelines/<name>.yaml. - Ctrl+Enter (run) runs it and switches to Run Logs.
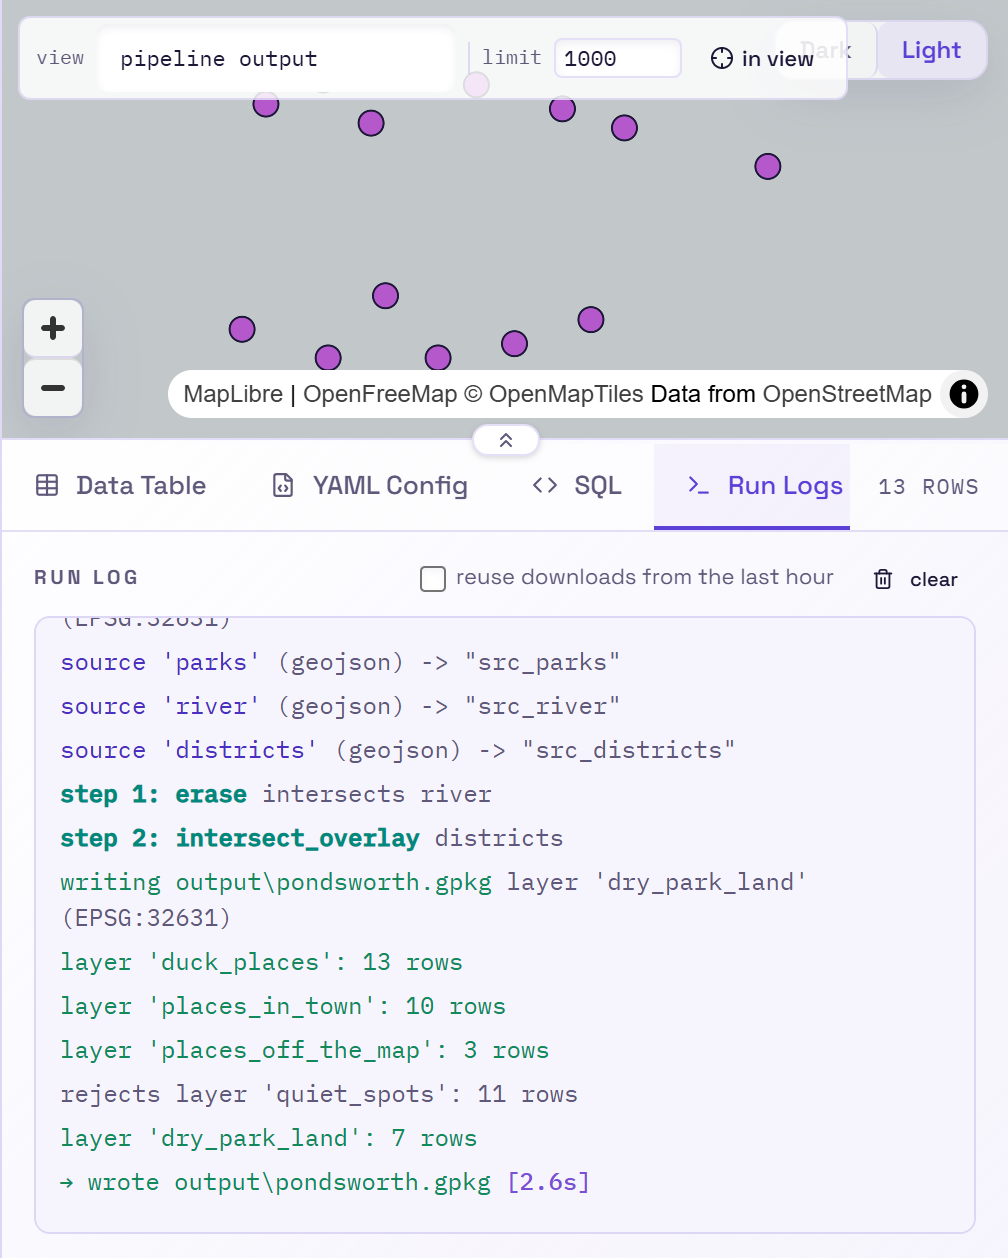
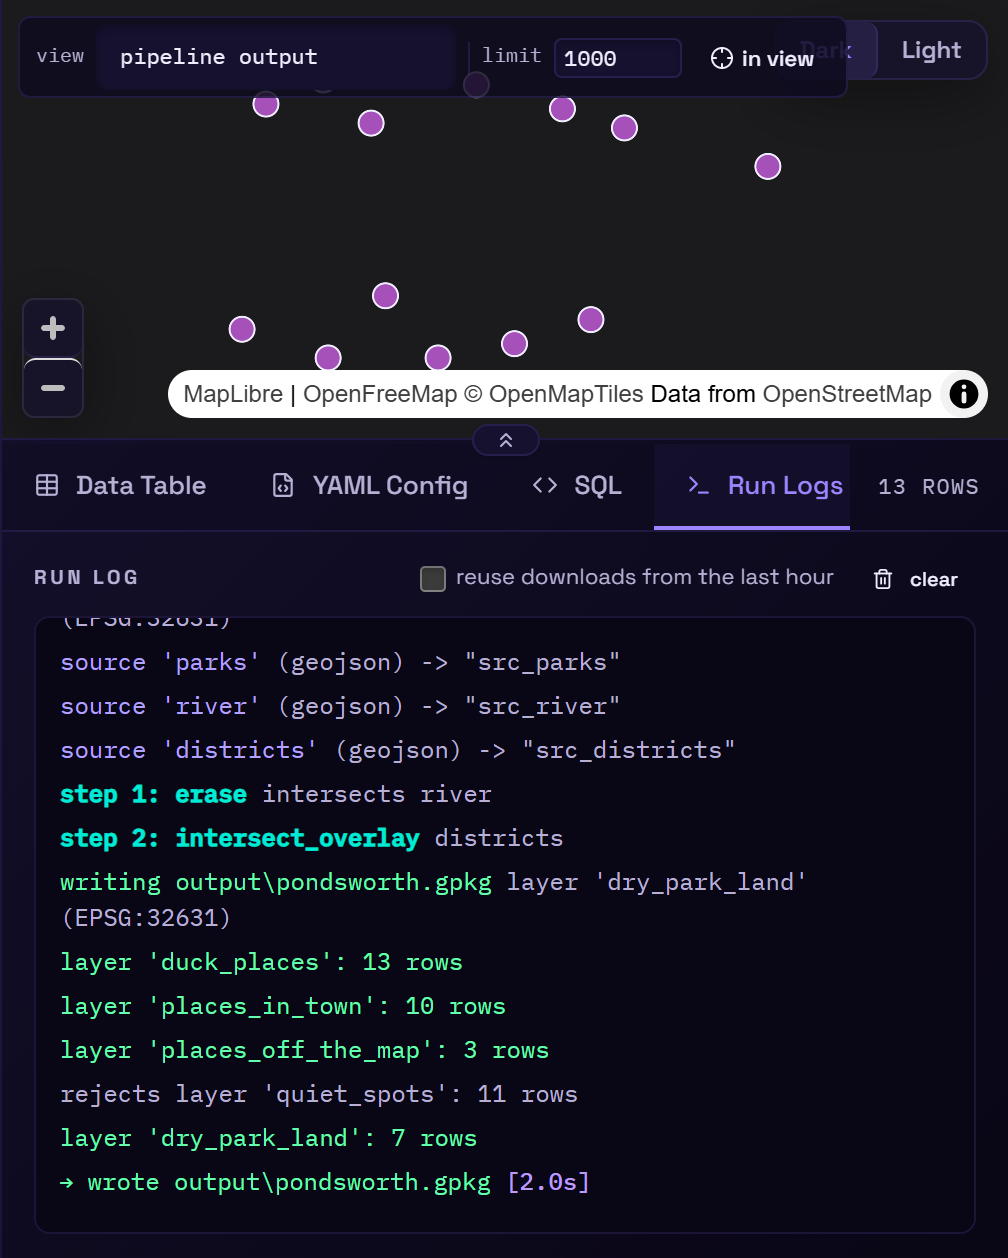
The YAML Config tab shows the exact YAML the editor generated. It's the same format you'd write by hand, so you can commit it and run it from the CLI later.
Next steps
- Core concepts explains what's happening under the hood.
- The Tour of the editor covers everything else on the screen.
- The Step types reference lists every step you can add.